Creating a simple UIX User Input application with Oracle JDeveloper
10g
We will cover the following in this tutorial:
Creating a Java bean to set and get a string value
Registering the bean as a data control
Creating a Struts page flow diagram
Creating two ADF UIX pages, one with a input field and a submit
button and one page with a display field
Navigating between the two UIX Pages
Steps
1. Create a new Application Workspace
1. Create a new Application Workspace in JDeveloper.
2. In the
Create Application workspace window select the Application Template as
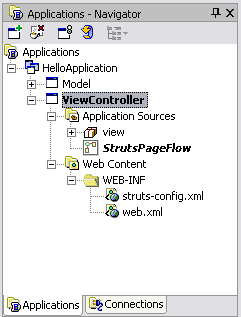
Web Application. Name the Application as HelloApplication. You should
now have an application named HelloApplication and two projects named
Model and ViewController.
2. Create the Java Bean
1. Right click on the Model project and select New. This will launch
the New Gallery dialog.
2. In the New Gallery dialog please select the Java Class node and
click OK.
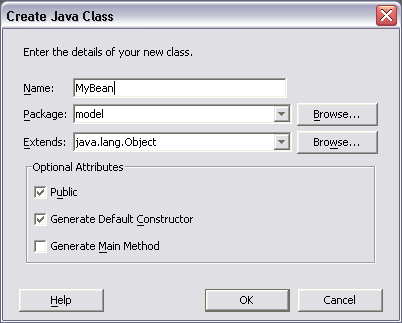
3. In the Create Java Class dialog please enter a name for your class -
MyBean
4. Paste the following code in the bean class editor.
package model;
public class MyBean
{
private String helloString;
public MyBean(){}
public String getHelloString()
{
return helloString;
}
public void setHelloString(String newHelloString)
{
helloString = "Hello " + newHelloString;
}
}
5. Save and compile
3.Register the Java bean as a data control
Right Click on the MyBean.java under 'Model' and select 'Create Data
Control'.
4. Create the Struts Page Flow
1.Right Click on the VIewController and select 'Open Struts Page
Flow Diagram'.
2.From the Component Palette on the right side, click on the Data Page
node and then on the empty Struts page flow.
3.Rename the node to mainDP
4.Repeat the step creating another Data Page and rename it to helloDP.
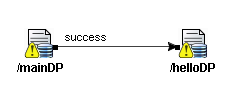
5.Click on the Forward node in the Component palette and drag a link
from mainDP to helloDP.
Your diagram should look like this:
5. Create two UIX pages, one with a input field and a submit button
and one page with a display field
Create Input Page
1. Double click on mainDP node in the struts page flow diagram.
2. Type the name of the page as'MyPage.uix'.
3. Click 'OK'. This will open the empty UIX XML page in the visual
editor.
4. Select the pageLayout component from the Component Palette and drag
it onto the center of the new empty page.
5. Under Data Contol Palette, select helloString node under
MyBeanDataControl and select the component type: MessageTextInput in
the Drag and Drop As list.
6. Drag and drop the helloString node into the center of your page.
7. Add a submitButton to your page from the Component Palette. Make
sure you have selected Forms Components in the Component Palette.
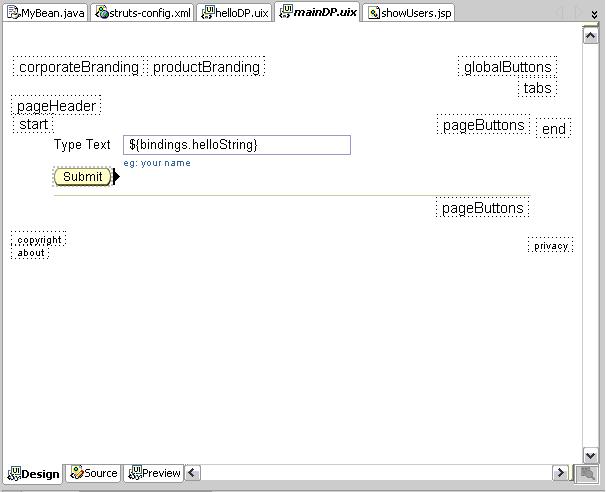
8. In the Property Inspector for the messageTextInput, change the
Prompt property to - Type text, and the Tip property to - eg: your name
9. Change the text property of the submitButton component to - Submit.
Your page should look like this:
Create Hello Page
1. In your Struts page flow double click on the /helloDP node in order
to create your display page.
2. Change the name to - hello.uix - and click OK.
3. In the Data Control Palette select the helloString located under the
MyBeanDataControl node.
4. Change the Drag and Drop As: type to - MessageStyledText.
5. Drag and drop the helloString from teh Data Control Palette node
onto the page.
6. Navigate between two UIX Pages
1. On the MyPage.uix page select Submit.
2. In the Property Inspector specify an event by entering a value for
the event property - success.
7. Run the Application.
1. Open your Struts page flow diagram.
2. Right click on the mainDP to run your application.
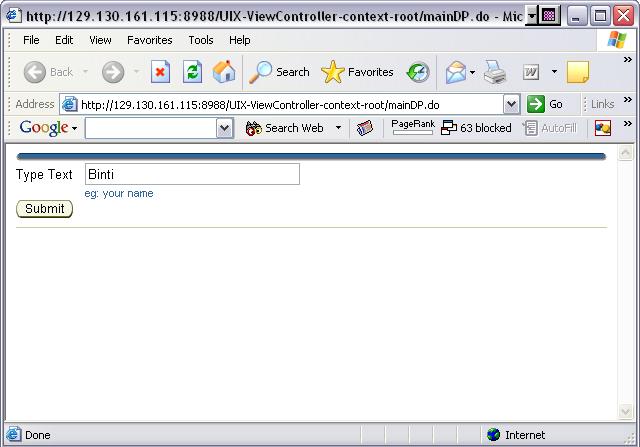
3. Test your application by typing in your name in the text field and
click Submit.
Your Page should open up in the browser and it will look like this:
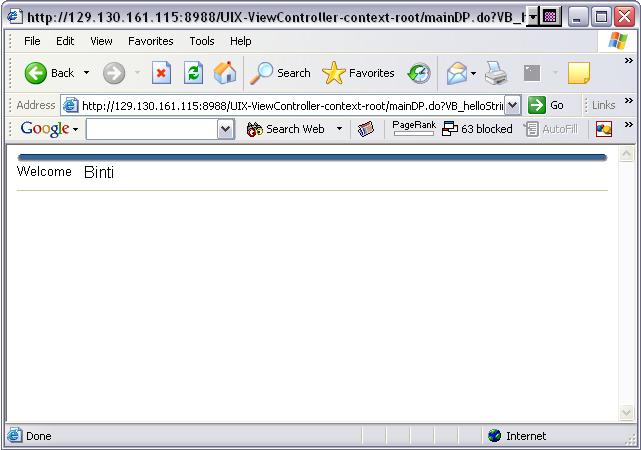
On submitting the page the following page appears:
Thank You,
Binti Sepaha
Deepti Gupta
