Installing Oracle 10g Express Edition
Garrett Taylor
This tutorial will walk you through installing the personal edition of the Oracle
10g database. It will also show you how to install and run the demo applications
that come as a part of the install pacakage.
-
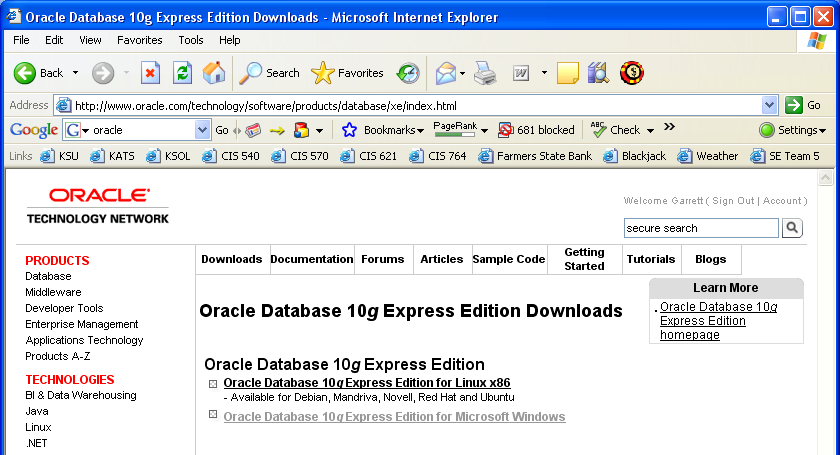
Download the Oracle Database 10g Express
Edition installer. It can be found
at
http://www.oracle.com/technology/software/products/database/xe/index.html. You will need to select the Windows
download and accept the license agreement before the download will commence.
-
Run the installer. The only required
input is the SYSTEM account password, which you should write down or make sure you
remember.
-
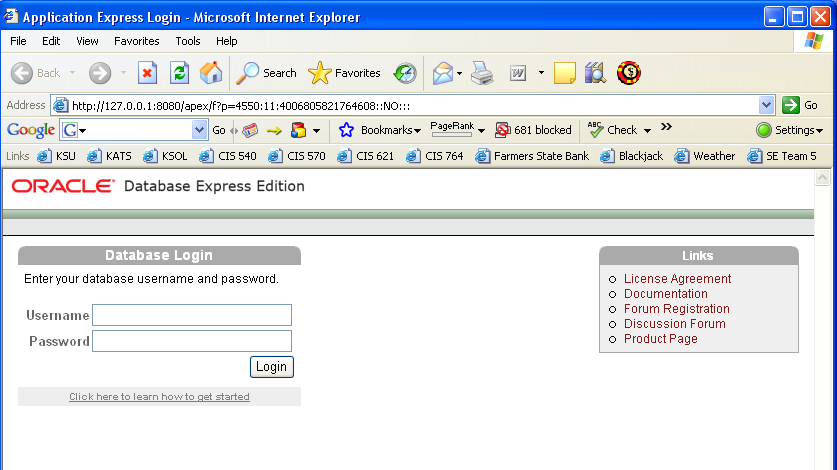
When the installer finishes, click Finish and wait for the Application Express Login
page to appear. Login to the database
using the SYSTEM account with the password you specified at install time.
-
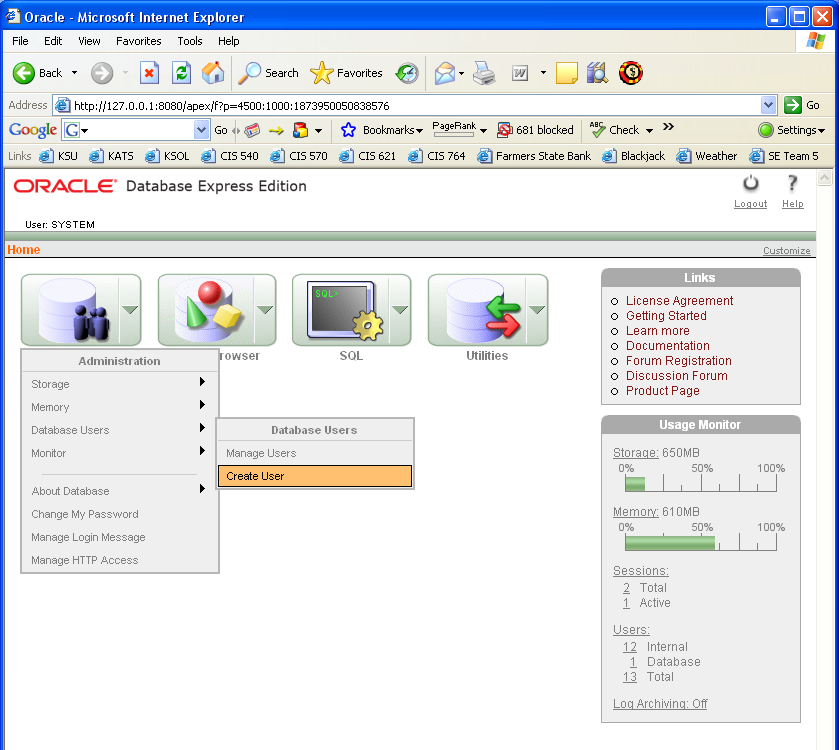
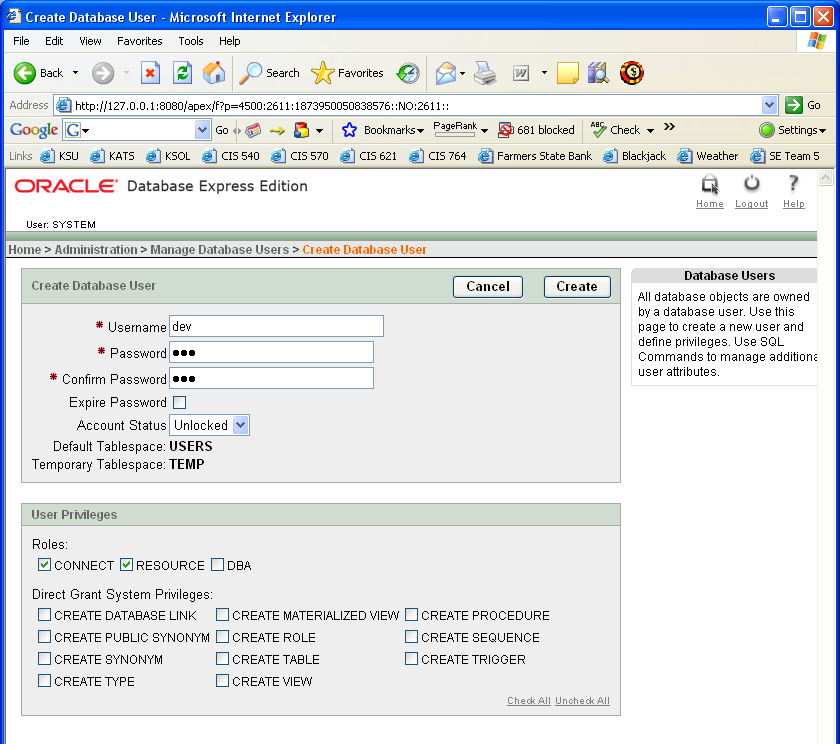
We are now going to install the sample applications that come along with the database. First, go to the Administration menu
and create a new user.
I used the username dev and the password dev for my account.
-
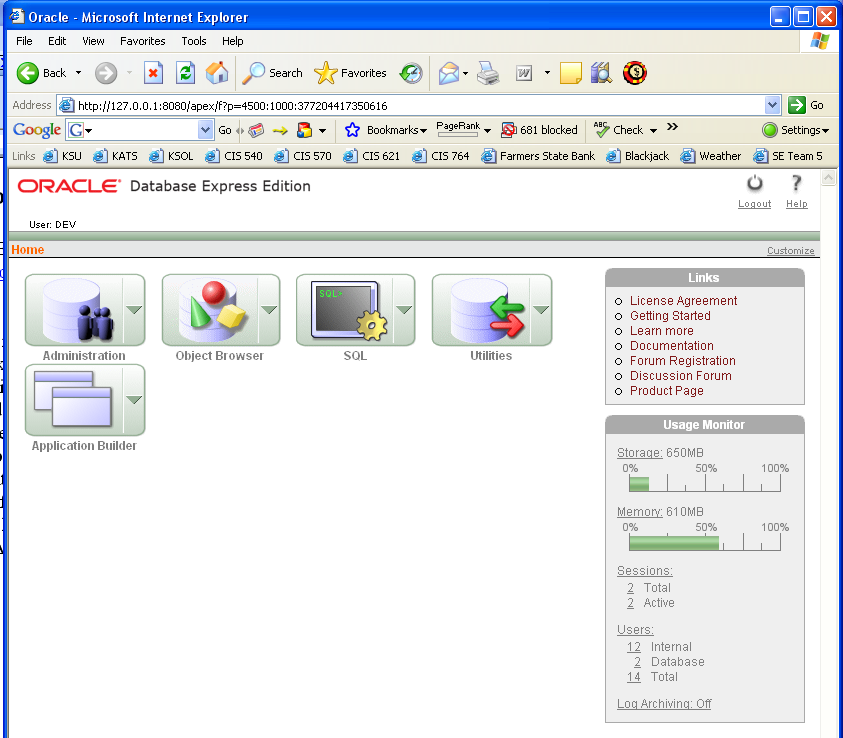
After the new user has been created, logout of the database and then log back in
using the newly created username. After
logging back in, the screen should reflect your new username.
-
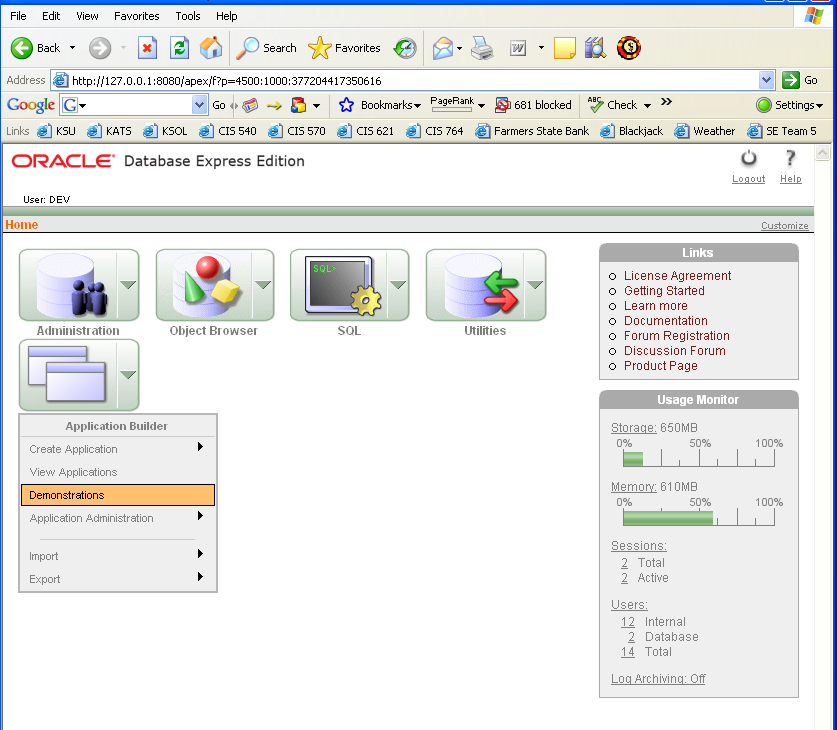
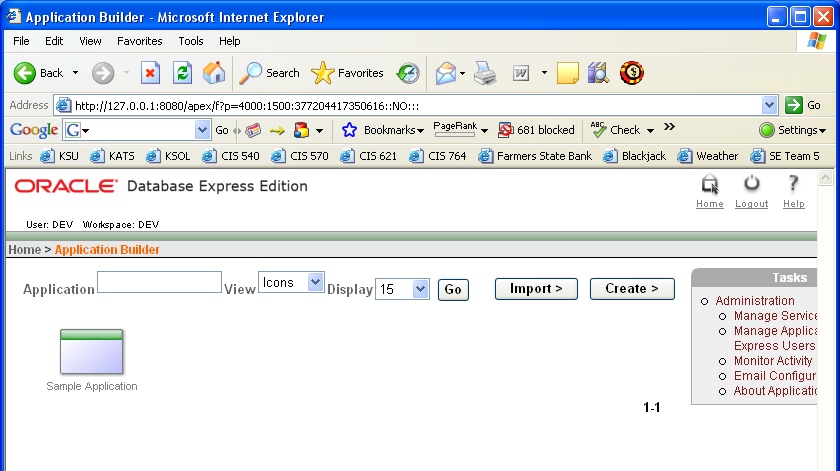
We will now install the sample applications.
Click on the Application Builder menu and select Demonstrations.
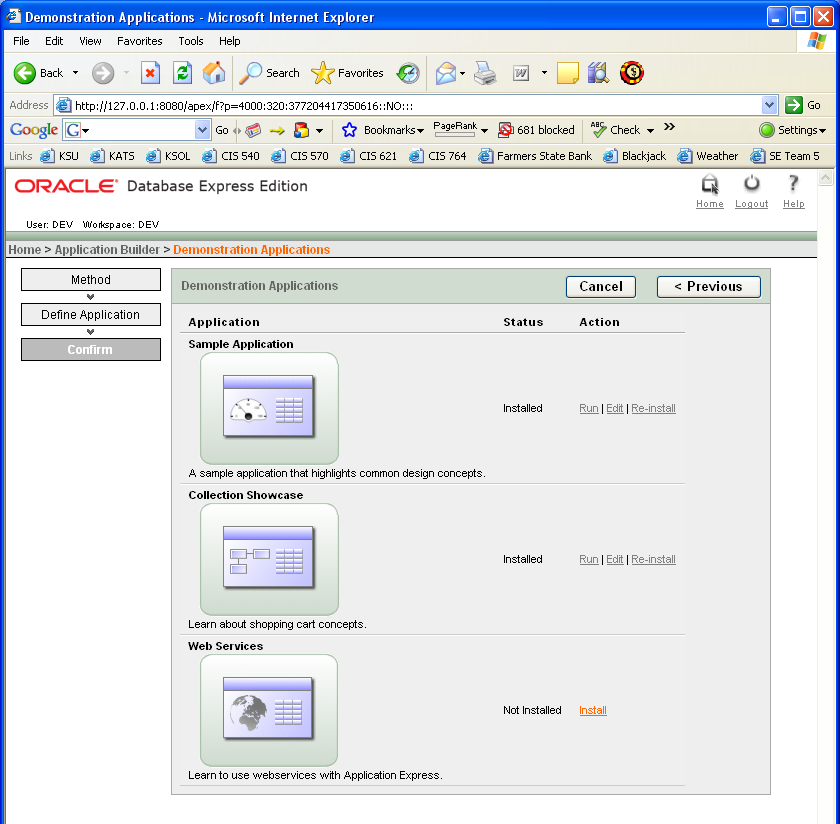
There are three demonstration applications that come with this install. We will install all three for completeness.
-
First, click the install link on the Sample Application selection.

This will launch a confirm screen, which you should click Next on.
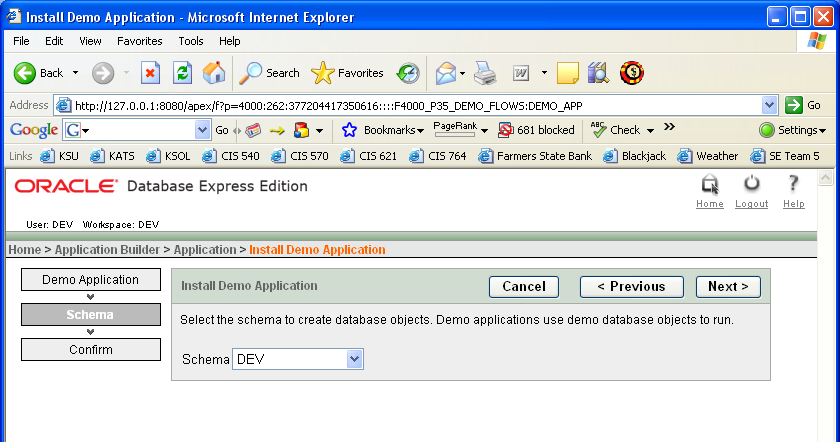
On the following screen click the Install button.
The following screen will appear.
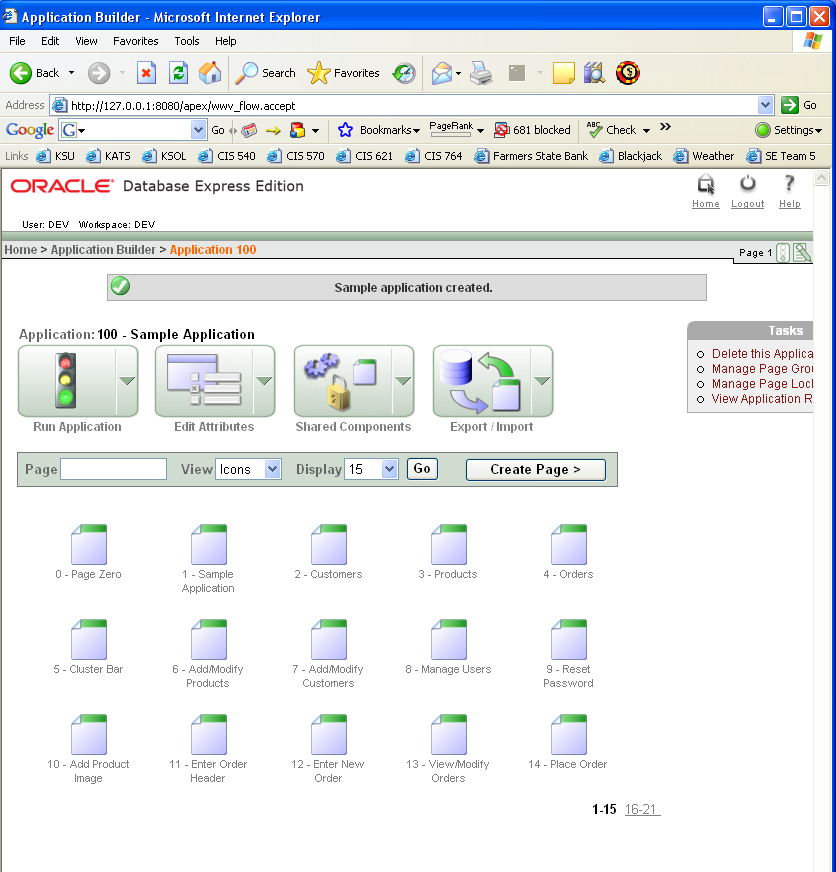
-
The first application is now installed.
Let’s install the Collection Showcase.
Click the Application Builder link in the top left section of the screen.
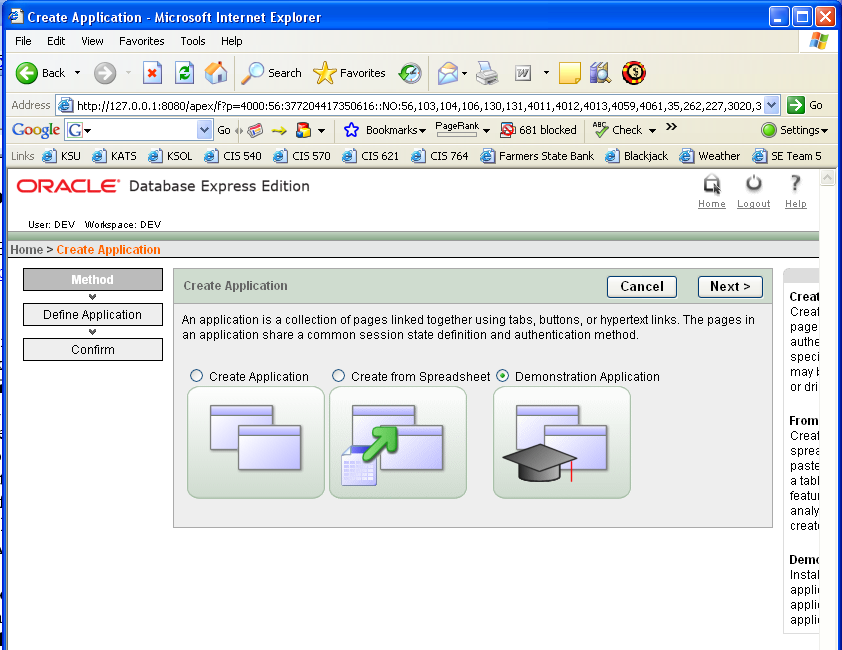
On the following screen, click the Create > button.
On the following screen, select the Demonstration Application option and
click Next.
This time click the Install link next to the Collection Showcase.

Click Next on the following screen and Install on the screen after that.
-
The second application is now installed.
For the final installation, go back to the Application Builder screen as before
and select the Create > button again.
Select the Demonstration Application option again and on the following screen click
the Install link next to the web services option.
Click Next and Install on the following screens, and the demonstration applications
are now installed.
-
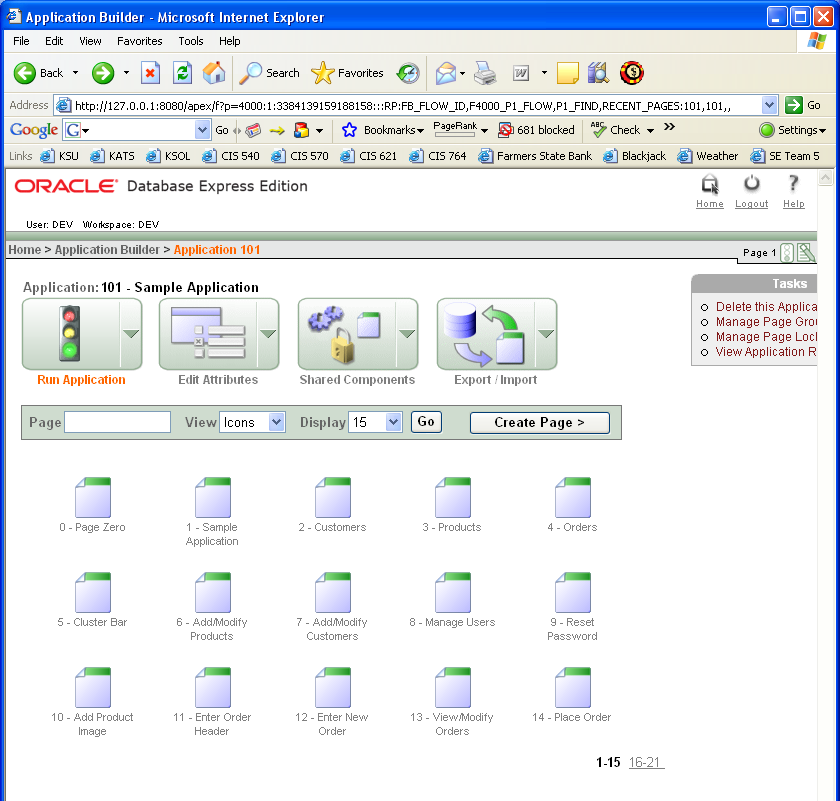
To run any of the applications we have installed, go back to the Application Builder
screen and click on any of the applications.
On the screen that comes up, click the Run Application button and log in as directed.
-
If you are motivated, explore each of the sample applications to see how they are
built using the Application Builder.
It is a rather complex but powerful tool if learned.